We’ve finally reached the last chapter of this series! So far, we’ve explored the entire backend design process, from domain modeling to handling persistence, transactions, security, APIs, and gateway. All these layers were containerized with Docker, working together like a single, cohesive engine.
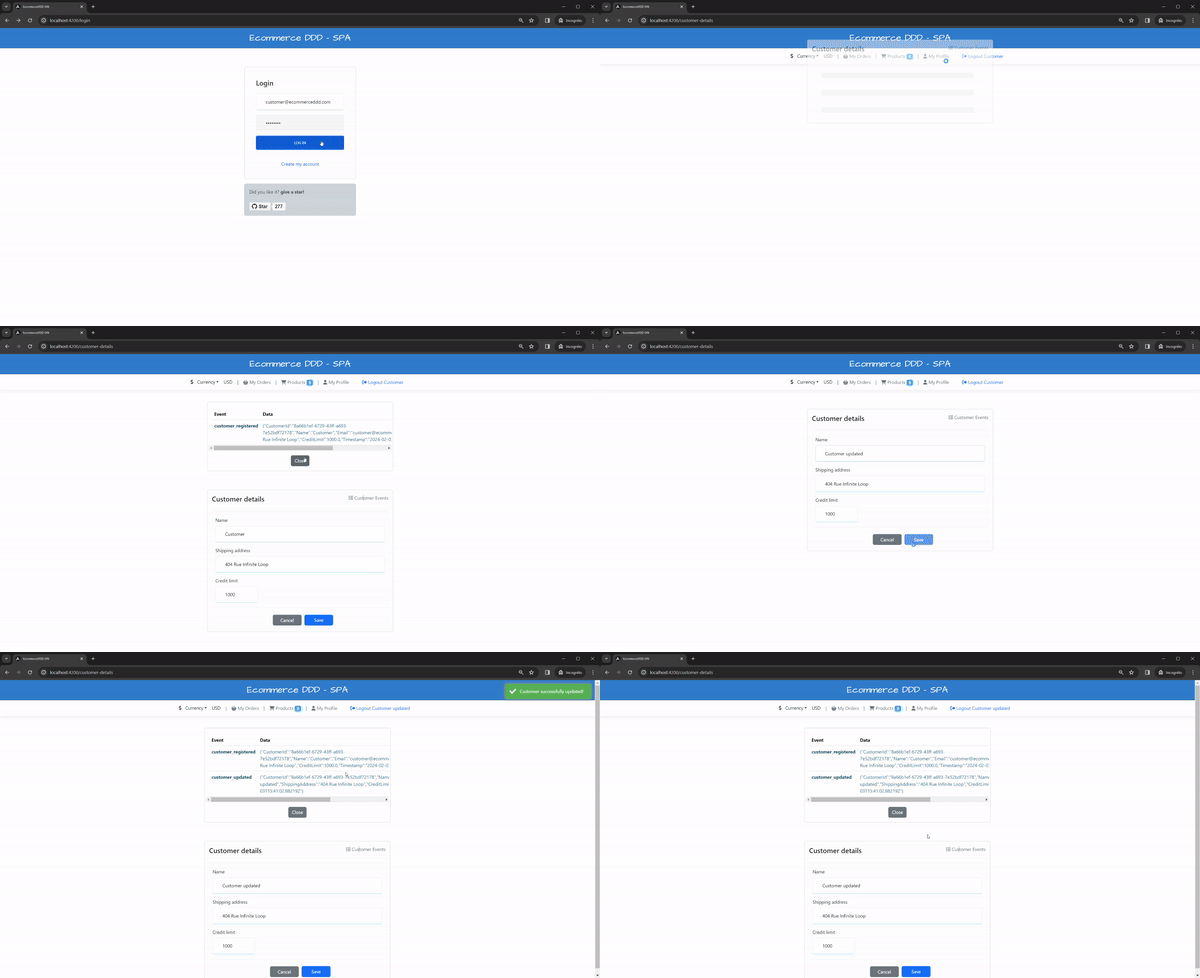
Now it’s time to put that backend to use. This post is fully dedicated to the frontend—specifically, a Single Page Application (SPA) built using Angular and how it consumes the backend in this project.
- Part 1 - Project’s overview
- Part 2 - Strategic and Tactical Design
- Part 3 - Domain events and Event Sourcing
- Part 4 - Implementing Event Sourcing with MartenDB
- Part 5 - Wrapping up infrastructure (Docker, API gateway, IdentityServer, Kafka)
- Part 6 - Angular SPA and API consumption
Why Angular and Typescript
As a C# developer, Typescript felt instantly familiar. TypeScript’s C#-like syntax, strong typing, and excellent tooling made it an easy recommendation for backend developers who want to explore frontend development, regardless of the framework, as long as it supports TypeScript.
For this project, I chose Angular for a few key reasons:
- It’s one of the most popular frameworks for building modern web apps.
- It provides a well-structured architectural blueprint and an excellent CLI.
- It’s built with TypeScript in mind and is opinionated—something I appreciate in large projects.
While Angular’s structure comes with a learning curve, it promotes consistency and maintainability across the codebase. Some might prefer more flexible frameworks like Vue, which offer greater freedom at the cost of requiring stricter self-discipline in design and organization.
By the way, if you’re curious about Vue, I built this fun project using it a while ago.
Development tools
Angular’s CLI is incredibly powerful and you can scaffold an entire application with just a few commands. It helps generate modules, components, services, directives, routing configurations, and more. I highly recommend checking out Angular’s documentation if you’re just getting started.
For development, I suggest using Visual Studio Code. Its extensibility through plugins makes it one of the best code editors available for web development. Whether you need code snippets, linters, formatting tools, or icons, there’s likely an extension that fits the bill.
Architecture
The frontend architecture is simple and follows what angular suggests. You can learn more about each component by checking the documentation or other architectural patterns. I’ll highlight what matters for us in the structure below:
1
2
3
4
5
6
7
8
9
10
11
12
13
14
15
16
17
18
19
├── app
│   ├─ clients
│   │  └── api
│   ├─ core
│   |  ├── guards
|   |  ├── interceptors
|   |  ├── pipes
|   |  └── services
├───├─ modules
│   |  ├── authentication
│   |  └── ecommerce
│   |      ├── components
│   |      ├── constants
│   |      ├── models
│   │      └── services
├───├─ shared
│   |  ├── services
│   |  └── components
└───
- clients: Since I started to use Kiota to generate clients based on my Gateway OpenAPI specification representing all APIs under our Gateway, all endpoints and their exposed objects, such as requests and reponse models, are transposed from C# to Typescript equivalents and placed here.
core: Contains reusable code shared across the application—such as HTTP interceptors, pipes, notification services, local storage handlers, and token utilities. It’s fully decoupled from feature-specific modules.
- modules: The modules folder is where I meant to place different logical sections of the application. I see the
user accountcreation andloginas a public section to be exposed without needing authentication, but as a preceding step. I grouped them into theauthenticationmodule. Everything else assumes the user is authenticated and goes inside theecommercemodule. You can organize your modules as you see fit for your needs. - modules.authentication: Components to handle customer’s account creation and login, as a public area of the application.
- modules.ecommerce:
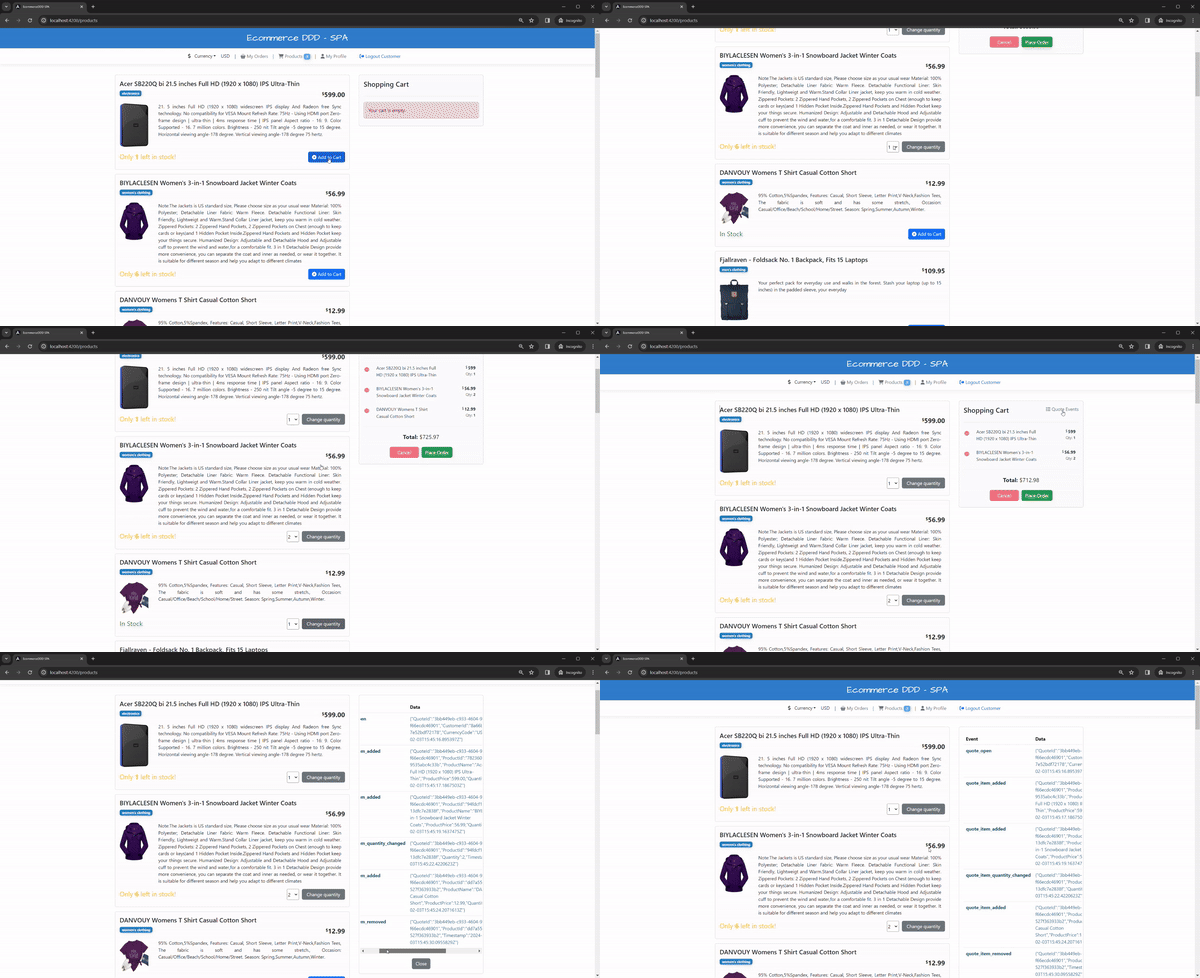
- components: Houses all UI components for the e-commerce domain. Note that some names may differ from backend terminology—for example, the cart in the frontend aligns with quote management on the backend.
- constants: The constants used throughout this module to avoid magic numbers or strings. It’s a best practice for maintainability.
- services: Injectable services used across the module.
- shared: Shared is where I’m placing generic services and components to support the overall app.
⚠️ Merging OpenAPI specifications is not something you get for granted. I developed and used the Koalesce .NET library to streamline this.
Run SPA, run!
To run the app locally, you need Node.js installed. All third-party dependencies are listed in package.json.
1
npm install
⚠️ The node_modules/ folder is excluded from version control via .gitignore and should never be committed. Always fetch fresh packages from upstream to benefit from bug and security updates.
Once the backend is running with Docker (docker-compose up or from Visual Studio), start the Angular SPA with:
1
ng serve
This will compile the project and launch a dev server on http://localhost:4200. Angular’s live reload feature ensures a smooth development experience.
⚠️ When preparing for production, don’t forget to bundle and optimize your app using the Angular CLI’s build tools to minimize load time and asset sizes.
Commanding changes, Querying data

Now let’s take for example, adding a product to the cart (and this extends to updating quantities or removing the product).
In the cart.component.ts you’ll see a statement like this:
1
2
3
4
5
6
7
8
9
await this.kiotaClientService.client.api.quotes
  .byQuoteId(this.quote?.quoteId!)
  .items.put(request)
  .then(async () => {
    await this.getOpenQuote();
  })
  .catch((error) => {
    this.kiotaClientService.handleError(error);
  });
As previously discussed, our architecture follows CQRS: commands mutate state, queries fetch data.
Under the hood, it will be hitting the QuoteController, the endpoint will execute a command to perform the changes to a quote:
1
2
3
4
5
6
7
8
9
10
11
12
13
14
[HttpPut, Route("{quoteId:guid}/items")]
[MapToApiVersion(ApiVersions.V2)]
[Authorize(Roles = Roles.Customer, Policy = Policies.CanWrite)]
[ProducesResponseType(StatusCodes.Status200OK)]
[ProducesResponseType(StatusCodes.Status400BadRequest)]
public async Task<IActionResult> AddItem([FromRoute] Guid quoteId,
  [FromBody] AddQuoteItemRequest request, CancellationToken cancellationToken) =>
  await Response(
    AddQuoteItem.Create(
      QuoteId.Of(quoteId),
      ProductId.Of(request.ProductId),
      request.Quantity
    ), cancellationToken
    );
Commands are imperative and ideally should not return data, which is a job for queries. Commanding is a one-way operation. When executing a command, I only check if the operation succeeds afterward; or otherwise, the core/interceptors/ServerErrorInterceptor will automatically display what went wrong in the server.
If everything goes well, another request is made to Query the quote with the more updated data:
1
this.kiotaClientService.client.api.quotes.get()
1
2
3
4
5
6
7
8
9
[HttpGet]
[MapToApiVersion(ApiVersions.V2)]
[Authorize(Roles = Roles.Customer, Policy = Policies.CanRead)]
[ProducesResponseType(StatusCodes.Status200OK, Type = typeof(ApiResponse<QuoteViewModel?>))]
[ProducesResponseType(StatusCodes.Status400BadRequest)]
public async Task<IActionResult> GetOpenQuote(CancellationToken cancellationToken) =>
  await Response(
      GetCustomerOpenQuote.Create(), cancellationToken
    );
With an expected result containing the data, the UI can perform what’s due to display it visually. Everything else in the project works pretty much the same way.
Real-time notifications with SignalR

SignalR is a real-time communication library for ASP.NET Core that enables server-side code to push content to connected clients instantly over WebSockets, falling back to other protocols when needed.
Why SignalR?
- Avoids constant polling from the frontend.
- Reduces unnecessary API calls and latency.
- Enables a reactive, event-driven UI.
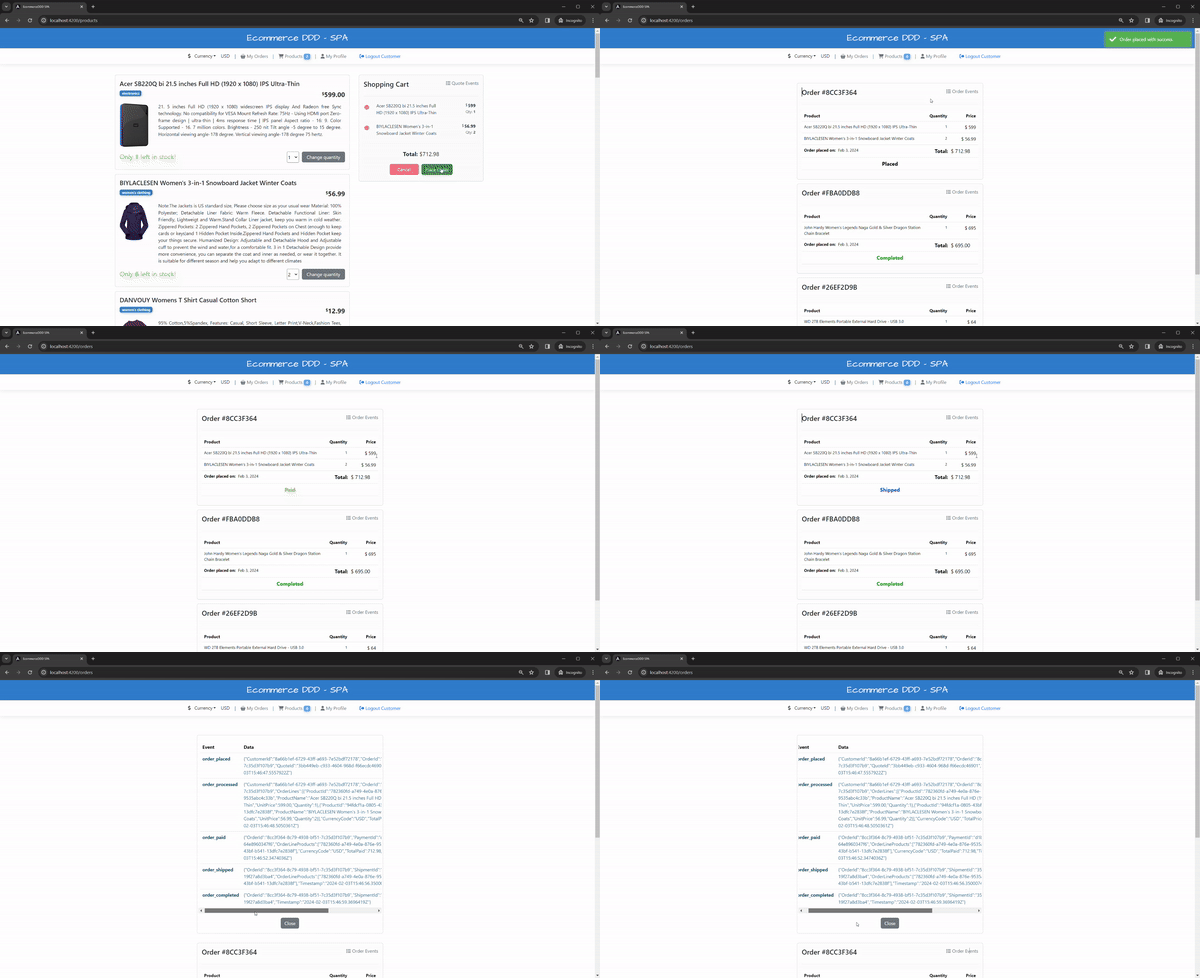
In a distributed system like ours, having real-time updates enhances the user experience significantly — especially in scenarios like order tracking. I integrated SignalR to broadcast updates from the backend to the SPA frontend when certain key events happen. Here’s how it works:
In the EcommerceDDD.OrderProcessing microservice, as an order progresses through states like Placed, Processed, Paid, or Shipped, and every related handler is in charge of updating the order status in real time.
This can be simply achieved by hitting the crosscutting EcommerceDDD.SignalR API controller, which will handle broadcasting the order status through OrderStatusHub.cs
1
2
3
4
5
6
7
8
9
10
11
// Updating order status on the UI with SignalR
  var request = new UpdateOrderStatusRequest()
  {
    CustomerId = order.CustomerId.Value,
    OrderId = order.Id.Value,
    OrderStatusText = order.Status.ToString(),
    OrderStatusCode = (int)order.Status
  };

  await _apiGatewayClient.Api.V2.Signalr.Updateorderstatus
    .PostAsync(request, cancellationToken: cancellationToken);
If you place an Order and keep watching it, you’ll notice the status changing. On the frontend side of things, the orders.component.ts connects to the hub and reacts to its pushed notifications thanks to the @microsoft/signalr package, like this:
1
2
3
4
5
6
7
8
9
10
11
12
13
14
15
16
17
18
19
20
21
// SignalR
this.signalrService.connection
  .start()
  .then(() => {
    console.log('SignalR Connected!');
    this.signalrService.connection.invoke(
      'JoinCustomerToGroup',
      this.authService.currentCustomer!.id
    );
  })
  .catch(function (err) {
    return console.error(err.toString());
  });


this.signalrService.connection.on(
  SIGNALR.updateOrderStatus,
  (orderId: string, statusText: string, statusCode: number) => {
    this.updateOrderStatus(orderId, statusText, statusCode);
  }
);
Final thoughts
That concludes the project! My goal was to deliver a fully working, containerized solution that brings modern backend and frontend architecture together, while simplifying many of the complex concepts behind it.
I hope it serves as a solid starting point for your own explorations and projects. If you found this series useful, please share it, and feel free to leave feedback. I’d love to hear what you think.